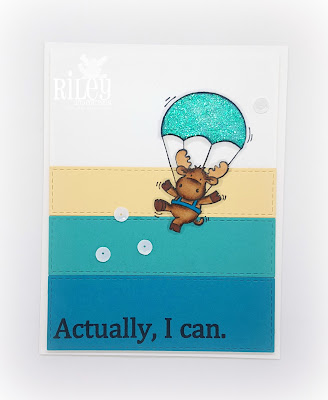
Hello everyone! This month it is my turn to be featured on the Riley & CO blog for the July edition of Designer Highlight.
For my project, I decided to make a Riley clock! I had a vague idea of what I wanted it to look like but nothing concrete. I even spent some time shopping around for blank clock bases to decorate and then smacked myself for buying something when I could MAKE it instead!
So, I grabbed some black medium weight chipboard from my stash and started scouring the house for a bowl big enough to make the largest circle possible.
Once I had two bases cut out, I glued them together using scor-tape and wet adhesive. This bad boy isn't coming apart any time soon.
After I had my bases drying under some heavy books, I started making a clock template out of some "ugly" scrapbook paper.
Once I had my circle cut out, I folded it into quarters and googled the angles between hours on a clock. The answer is 30 degrees. So, now I have a clock template. Also, be sure to cut the tip off of your folded up clock so you have a center point hole.
(I tried to be fancy by folding my circle several times thinking that would get the correct angles and I wouldn't have to measure anything....wrong!)
Once I had my angles figured out, it was time to start decorating! Again, I still didn't have a theme picked out other than "It's 5 O'clock somewhere!" so when my best friend was over cropping she had the idea to make it beach themed. Score! Now I was off and running on a theme. Thanks Theresa!
After several hours, much fussy cutting and clock mechanism assembly, I have a Riley clock! Isn't is great? I giggle everytime I look at it!
I am sending this clock to the Head Moose, Tanya soon. Maybe you will see it in the Riley booth in the near future!
I hope you enjoyed my project. I had a blast making it and I think I will be making more clocks in the future. Winter is coming. :)
Before you go! Here are a few of my favorite projects that I made recently and wanted to share. Have a great week!


